You need to install Visual Studio Code on your computer if it is not already installed. You can download it from here : https://code.visualstudio.com/
Please note that you must have Node.js installed on your machine to create a React project using Vite. Ensure you have a version of Node.js 16 or later. You can check your Node.js version by typing ‘node -v’ in the terminal window. If needed, you can install or upgrade the LTS version of Node.js from here.
To create a new React project using Vite, open Visual Studio Code, navigate to the folder where you want to place the project, and open a new terminal window from the VS Code Terminal menu. Then run the following command:
npm create vite
Follow the instructions. Choose React as the template in the instruction and Javascript as the language (Vite will ask you step-by-step).
Now, Navigate to the ‘File’ menu, select ‘Open Folder’ in Visual Studio Code, and open your project folder. Then, open a new terminal window using the ‘Terminal’ menu.
Install the project dependencies by typing the following command in the terminal window.
npm install
Start the Vite development server with the following command:
npm run dev
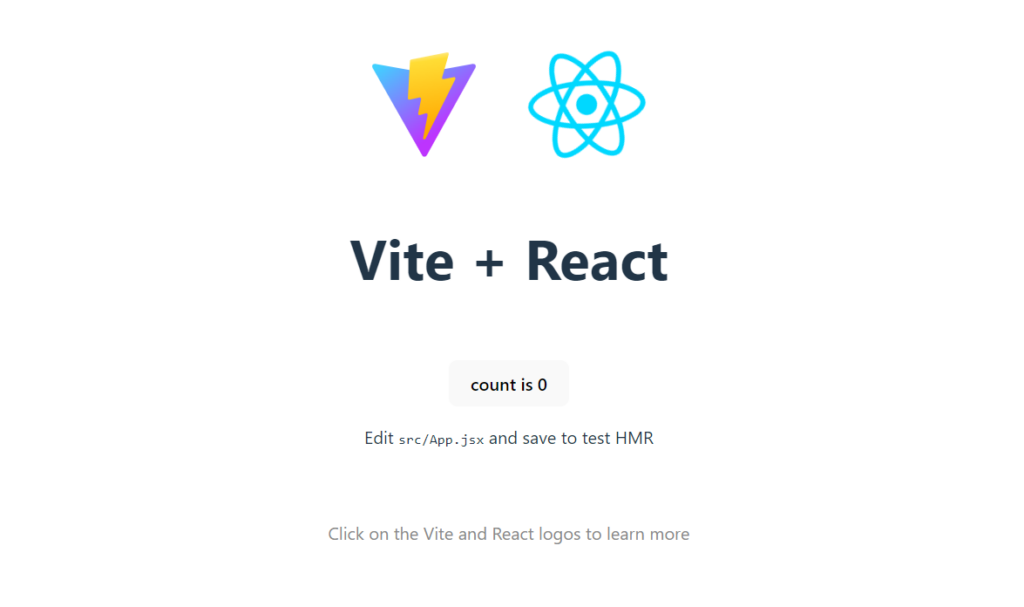
Click on the link which is shown in the terminal window for example “http://localhost:5173/”. Now, you should see the default view in your project in the web browser.
